Winter is the perfect time to shoot something different and if you like macro photography as I do here is a little tutorial about how to photograph snowflakes with a DSLR.
If taking photographs of snowflakes isn’t your favorite photographic practice during wintertime, it should become such. You just have to go through a few and with a little exercise, you will become the master of snowflake photos. It is said that there are no two snowflakes alike and there is a pretty good chance you will become addicted as you discover all the elaborate shapes they can take and how to best capture them.
In order to achieve greatness in photographing snowflakes, we will go through:
- Necessary equipment and settings
- Understanding snowflakes
- Tripod or no tripod
- Recommended backgrounds
- Tips and tricks
What equipment you need to capture snowflakes
First of all, of course, you need a DSLR camera. There are ways you can use a regular compact camera to capture snowflakes, but a DSLR works best in this endeavor.
When it comes to DSLR and macro, the camera makes the lens aperture to close to the minimum, thus allowing you to maximize the depth of field and permits you to be closer to the snowflake. You need a lot of magnification and extra good lightning. In order to achieve greater magnification, a set of extension tubes comes in very handy.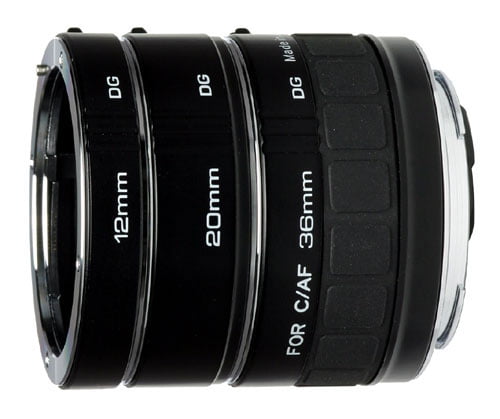
How to photograph snowflakes with DSLR extension tubes and reverse lens

If we refer to lightning, a good solution is a ring flash or an off-camera flash so you can adjust the angle of lightning, giving you a lot more options when shooting. If you choose to use the flash, consider using a lower ISO, a fast shutter speed, and an aperture under F/11 to avoid blurring. If you will not use a flash, consider increasing the ISO and ensure a wider angle setting. (You may also want to check another blog post Understanding exposure)
Canon camera users may consider getting Canon MP E Macro Lens for Canon EF – 65mm – F/2.8 which is awesome for macro photography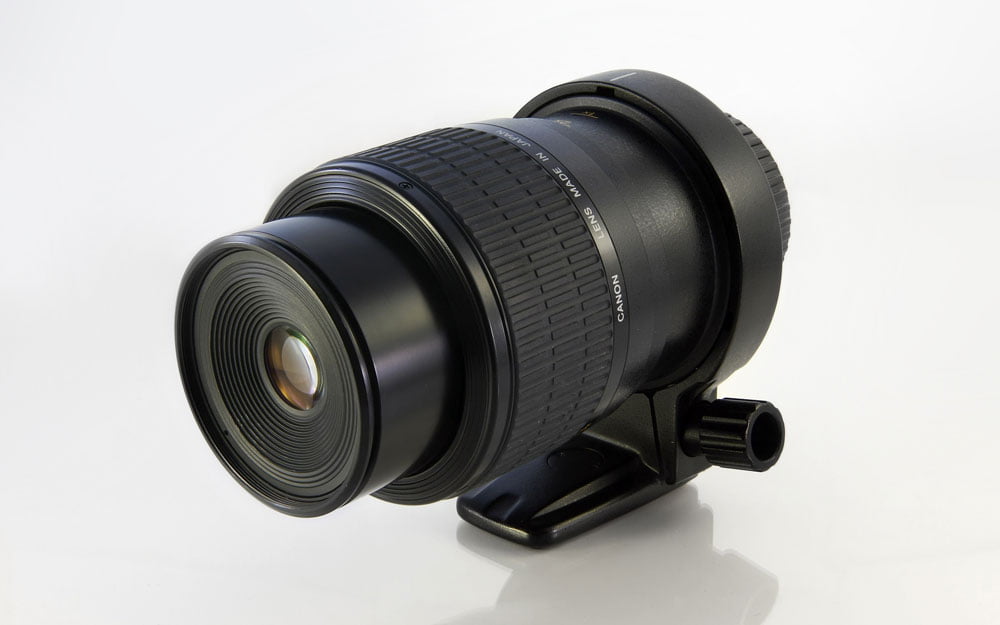
You may consider using macro bellows
Understanding snowflakes
Before we go further, you must first understand a little bit about them.
A snowflake is either a single ice crystal or an aggregation of ice crystals which falls through the Earth’s atmosphere as snow.[1] Each flake nucleates around a dust particle in supersaturated air masses by attracting supercooled cloud water droplets, which freeze and accrete in crystal form.
Also, it is important to acknowledge that their unique shapes are given by the humidity and temperature in the atmosphere. They are very fragile and if they begin to melt, even vaguely, they lose their shape. It’s useful to know that as you go through your options for backgrounds and even consider using a tripod or not. Prolonged time after a snowflake has fallen may lead to it melting. Also, if you want to use different props as backgrounds, think about leaving them outside or in the fridge for them to reach a lower temperature.
Tripod or no tripod
There are pros and cons when choosing whether to use a tripod or not. The most obvious choice is to use a tripod to stabilize the image during the macro shooting. It also helps you in setting the composition and using a faster shutter speed. But there are also reasons to consider renouncing the tripod. One is that when it comes to snowflakes, time can be a decisive factor so, by the time you arrange the perfect spot for your tripod, the flake will be spoiled. Also, it is more difficult to experience different angles and lighting.
With or without the tripod, try the technique called focus stacking. This basically means you keep on shooting the same frame from different angles or with different focal points and then they are combined in photo-editing software. If you don’t use a tripod, you will have to take a lot more frames, as some of them will not be used because not all of them will line up.
Recommended backgrounds
It is recommended that you use a dark and uncluttered background to achieve better contrast and isolate the subject of the photograph. For that, you can use a cloth, such as a mitten that also prevents the snowflake from melting as it only makes contact with the fibers of the fabric. You can also try to capture snowflakes on glass and play with light beneath.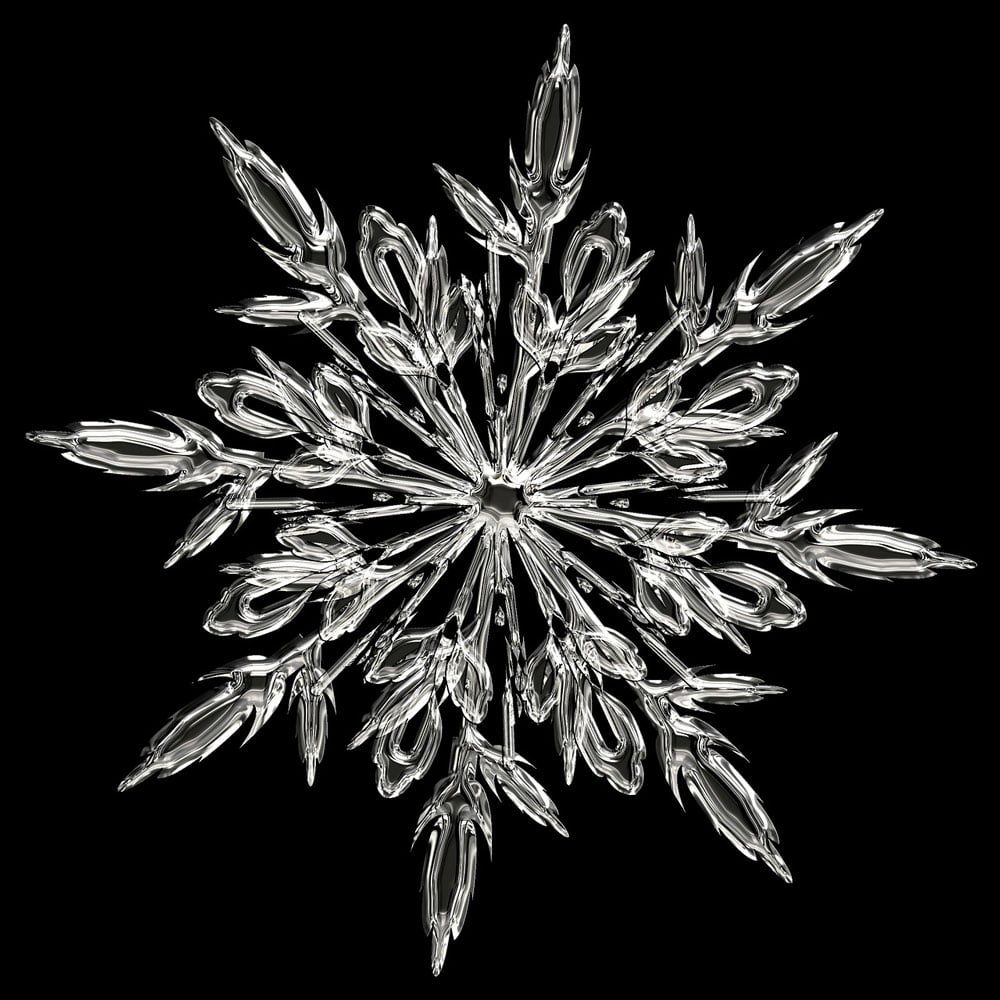
How to photograph snowflakes with a macro lens

As snowflakes are a wonder of nature, if you are not interested in analyzing their intricate details, it might be wiser to photograph them in the outdoors, where they fall to give your shot a natural feel. Go out and explore how they look on wood or on a green fir-tree branch. But be sure you have enough contrast.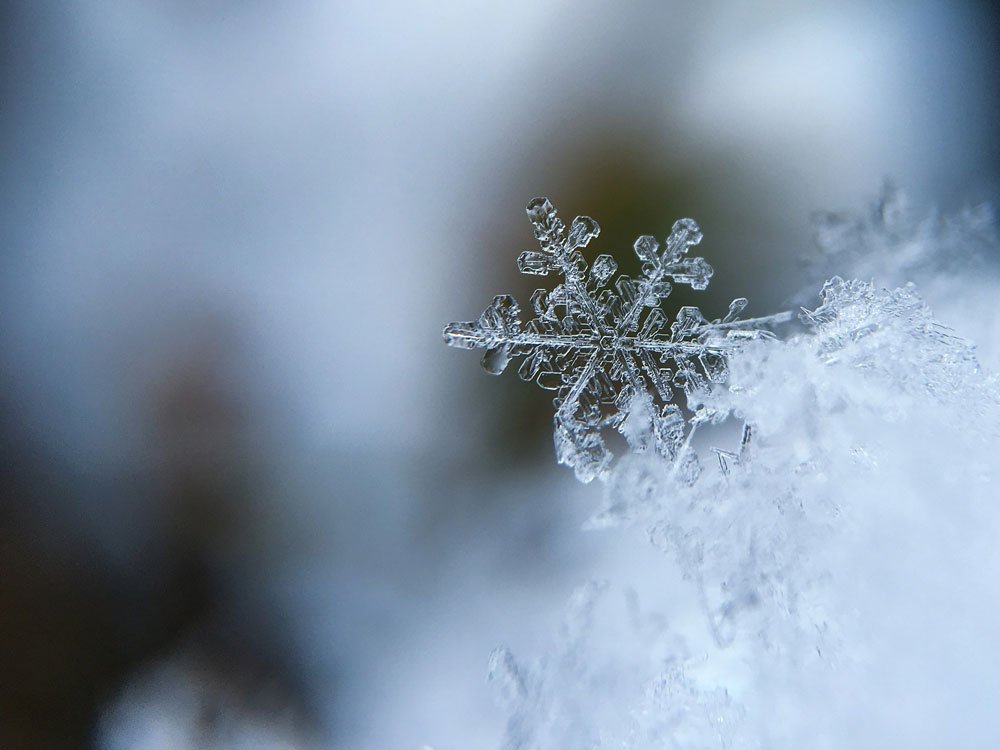
Tips and tricks
-
- You don’t want steam on your lens, because as soon as you will take the camera from the warm environment outside where is cold I could bet there will be steam on the front lens element,- cool down your gear before start shooting.
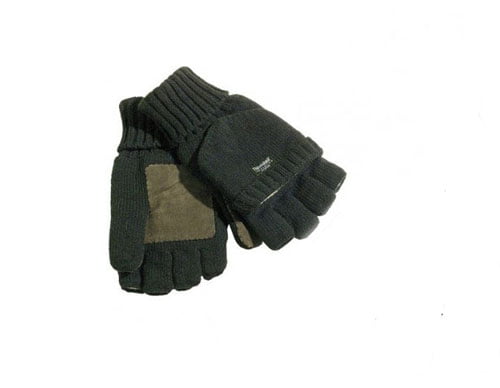
- Use warm gloves. I personally like this type.
- Go outside during the snowfall, not after it stopped.
- Try to find individual snowflakes that are spectacular. Their shape might not be easy to see with the naked eye in the case of smaller flakes, but you can use the LCD on the camera to see better.
- Or use a pair of glasses or a magnifying glass, but don’t try this in the sun as you will create a hot spot and melt the snowflakes.
- You can separate individual snowflakes with a small fine artists’ brush. Be careful though, as they tend to break.
- Play around with the angles. The exact snowflake will make for a totally different photograph when captured from different angles. The light reflection plays a big part in this, besides the usual reasons. Also, play with side lighting and back lighting for different effects.
- As we already said, cool down any glass or cloth you want to capture your snowflake on.
- Post-production using Photoshop or similar software can really make a difference in the final outcome. More than in other cases.
- If you want to practice this kind of photography and there is no snowfall in the coming forecast, try making soap bubbles in the cold and practice on the ice crystals that are formed on their surface. Try different backgrounds and observe the importance of light.
As you see, there are a few particularities you have to grasp before shooting snowflakes. But once you get the hang of it, it will seem so easy and rewarding. And the best part is, you will have so many different experiences as there are snowflakes.