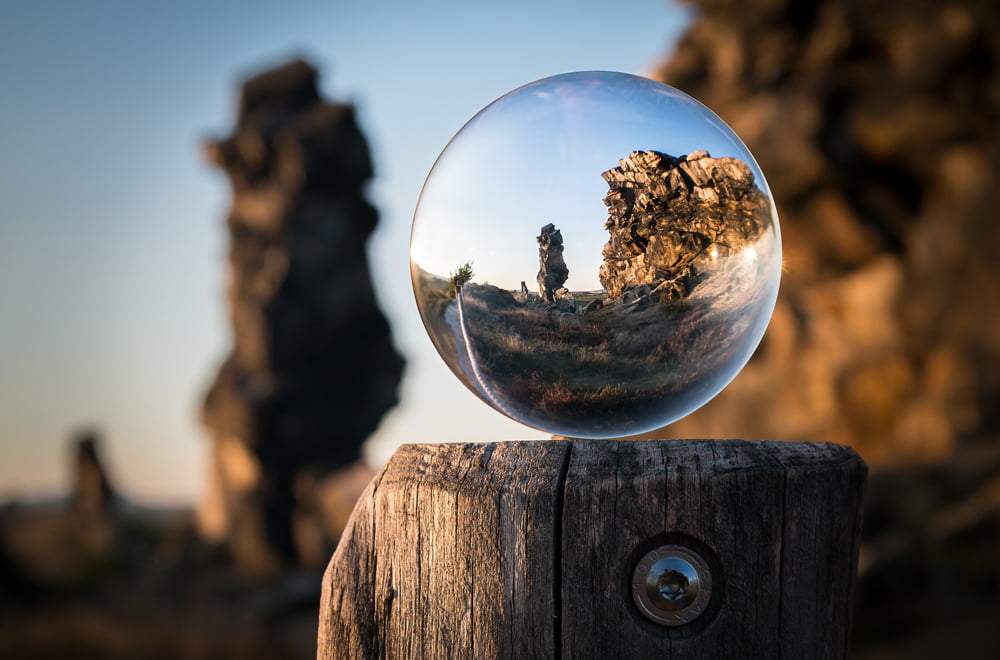
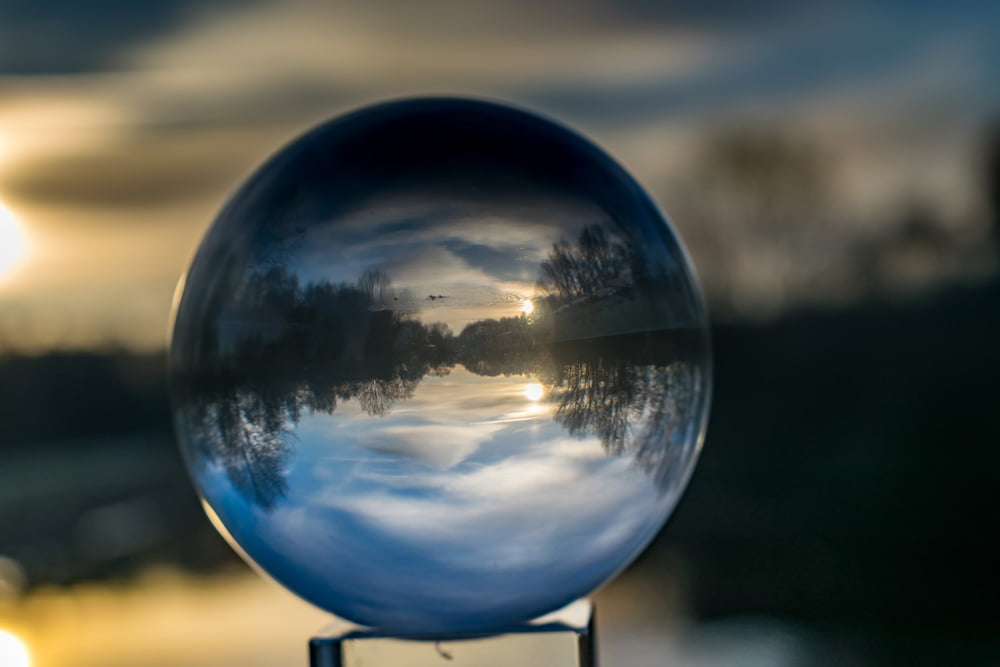
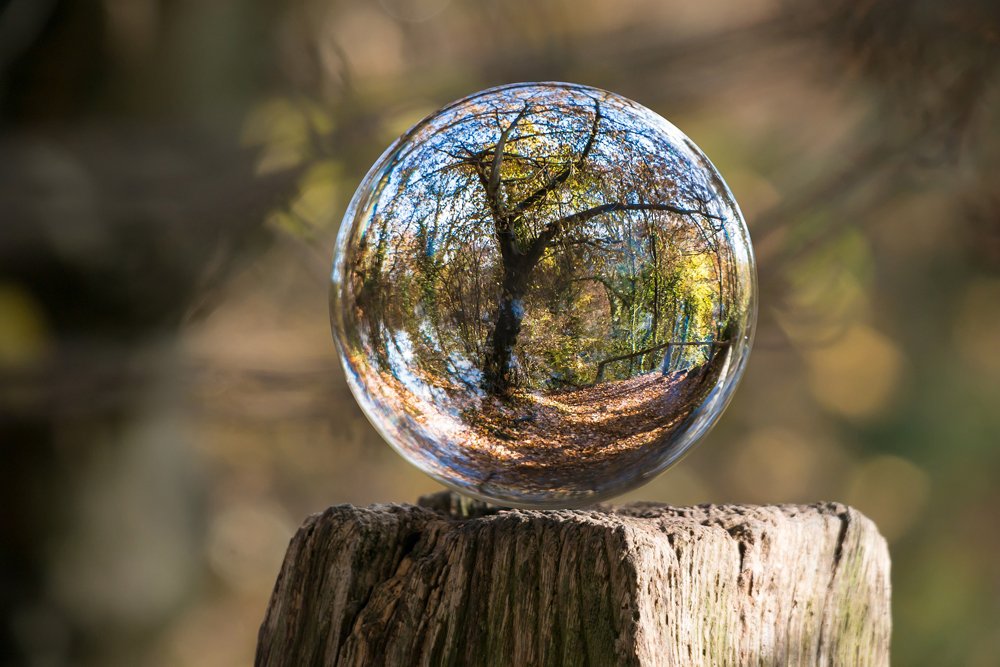
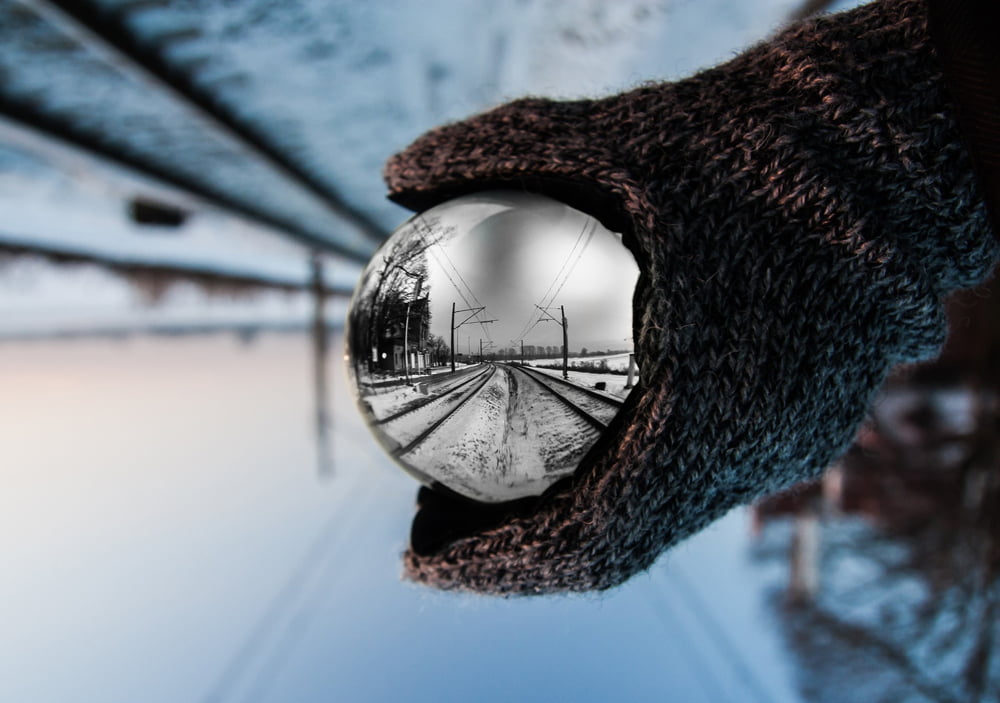
For any photography enthusiast who is tired of taking “regular” photos, whether they’re a veteran photographer or a complete novice, an interesting way to shake things up is to try what’s known as glass ball photography. Glass ball photography, also known as crystal ball photography, involves taking a glass or crystal ball and positioning it directly between your camera’s lens and your subject matter in order to create images which are out of the ordinary. Now, using a crystal ball won’t let you see the future, sadly, but it can create some unique artistic images.

In this article I will teach you the following:
- How to use the glass ball photography technique
- How the science behind glass ball photography works
- Where to get a glass ball
What gear do I need?
To be clear, glass ball photography can be done with any camera. The glass ball which is used is not a specialized camera attachment, nor is it installed within the camera itself. The glass balls which are used for this technique are literally just spheres made from glass that range in size from two to four inches or larger. They can be purchased online, from websites like Amazon, or oftentimes they can be found in new age stores. They are relatively inexpensive in most cases since once again, they are just spheres made of glass.

To take a photo using this method, all you need to do is hold your glass ball at your fingertips, hold it up in front of something interesting, and then take a photo of the ball from a viewpoint where the entire ball is visible within your shot. If you find the presence of your own fingers in the image to be undesirable, you can certainly find a different way to keep the glass ball in position, and many people do just that. Some photographers place their glass balls on a flat surface, but special care needs to be taken to make sure that the glass ball does not roll away. The glass balls used in this technique must be treated with great care since scratches or cracks would significantly affect their usability, and many fans of this technique tend to carry their glass ball in a bag made of very fine cloth to ensure that it is not damaged during travel.

Where and how to use the glass ball photography technique
Glass ball photography is not generally a method of photography to use when taking family portraits, action shots, or crime scene photos. It’s a technique that is prized entirely for its artistic merits. The light that is filtered through a glass ball is subject to a process known as refraction, which basically just means that the light will be bent. This has several notable effects on the resulting image, perhaps the most noticeable of which is that the image within the glass ball will be inverted, both horizontally and vertically. In plain terms, this means that the portion of your subject matter which is visible through the glass ball will appear to be upside down and flipped left and right.
Light and effects
Because the light that passes through the glass ball is bent on its way to the camera’s lens, like I mentioned above, anything viewed through the glass ball will be subject to the same visual effects which are achieved by using a fisheye lens. I’m sure most people know what that means, but for those readers who don’t, it means that the image will be distorted and curved. Anything directly in the center of the sphere will look relatively normal in your photo, but anything viewed through the edge of the sphere will appear significantly warped.
One significant advantage to glass ball photography is that the refraction which occurs as the light passes through the ball means that you will have a 180-degree view. This is a significantly wider viewing angle than that which you can normally achieve with a standard camera. Certain camera apps on modern smartphones support what’s called a “panorama” mode, which will allow you to take very wide photos, up to a full 360 degrees. The glass ball photography method can’t achieve a 360-degree view, but using refraction compresses a full 180-degree view into a small portion of your image.

Depending on your subject matter and your personal preferences, sometimes it won’t matter so much that the portions of your image which are viewed through the glass ball are vertically and horizontally inverted. For example, if you’re looking down at the ground and taking a photo of a flower surrounded by grass on all sides, it may not even be noticeable that part of the image is upside down. However, if you’re looking straight ahead and taking a photo of a cityscape, the buildings viewed through your glass ball will be upside down and it will be very easy to notice. Many experienced photographers with advanced cameras will use bokeh, which refers to blurring the background elements of a photo, as a way to distract from the visual disconnect which is created when only part of a photo is inverted.
If you’re ever having trouble trying to visualize what a particular shot would look like if you used the glass ball photography method, one easy to check is to just pick up your glass ball and look through it. In fact, you can just carry your ball around and test out various shot ideas until you find something visually compelling. It’s generally helpful to position your glass ball so that the entirety of your subject matter is visible through it, rather than just a portion. For example, if you took a picture in which only half of the sunset was visible through the glass ball, it might look strange since only half of the sunset would be upside down.
https://www.youtube.com/watch?v=if0l5Kil3FM
Glass ball photography isn’t for everyone, but for those who want some really unique photos to post on Facebook or Instagram, it’s a nice break from the normal. It’s easy to do, doesn’t cost much, and it can be a great way to get into photography if you’re just starting out. If you own a camera and can afford a ball made of glass, there’s no reason not to at least try it!